Stephen Bliss
- Josiah Forbes
- Oct 15, 2022
- 1 min read
Updated: Oct 17, 2022

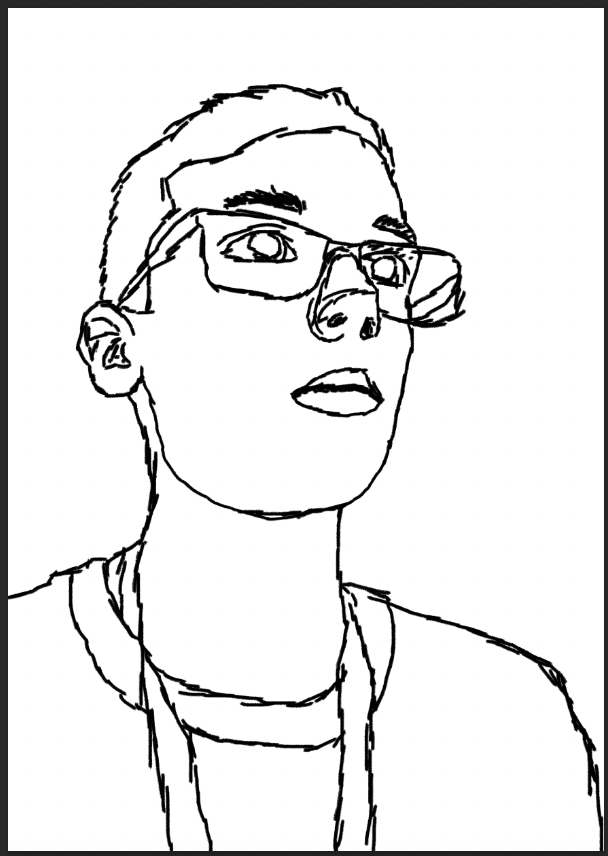
This is my Stephen Bliss style Portrait I made in Photoshop.
I Started with a new A3 Document. Imported my Photo and used CMND + T to scale to size.
I made a new layer above the photo

I then used the Brush tool and used a charcoal pencil brush to make a sketch of my portrait.


Then I made more layers under the outline for colouring each part of the portrait.
I continued colouring with the brush tool. I was using the Bracket keys [ ] to increase and decrease the brush size when convenient.

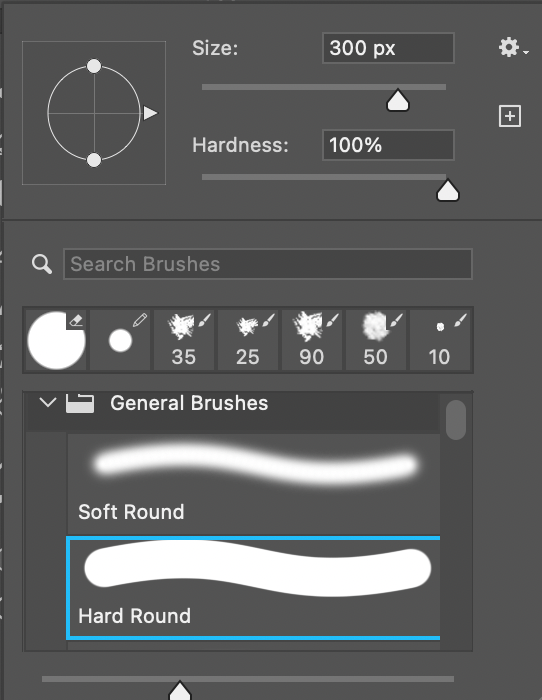
once I finished colouring it all in. I created a new layer to make a more precise outline this time using the brush tool and the brush Hard Round


I used the eraser tool to help fix any mistakes I made.

I used the Eyedropper tool frequently to switch colours easily


Once I had finished outline and colouring, I made a background by Creating a new layer, putting it under all other layers, selecting the colour I wanted, and pressing Edit > Fill


Here is my layers panel when I was finished.
that's all for making this portrait, here is the final image
I think this project was a success but it would have been better had I used more vibrant colours, at the time of working on this it was late at night and my computer automatically dimmed the screen and added a more orange tint to everything, so I did not realise while I was working on it that it was not as bright and colourful as I was currently seeing. luckily this is the only project where I had this problem.


Comments