Face Displacement
- Josiah Forbes
- Oct 15, 2022
- 3 min read

Updated: Oct 17, 2022

This is my Face Displacement Portrait I created in Photoshop
I started by creating a new A3 Document and importing my Photo into it, and using Command T scaled it to fit the canvas

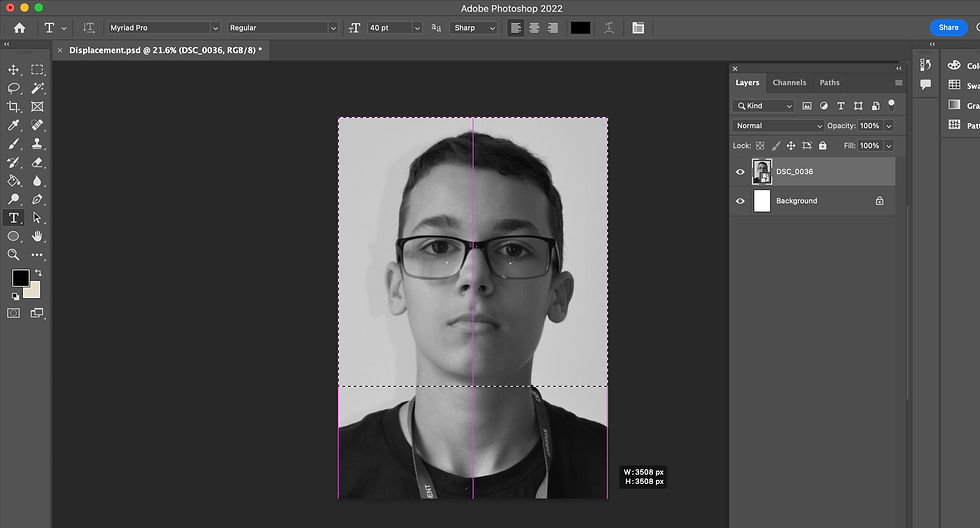
I then converted the photo layer to a smart object by right the layer


I then went into my smart object and made the image black and white by working with the Brightness, Contrast, and Saturation. I found that my image lighting was not very good so I also adjusted the properties in levels.


I now have to fix my background because its to bright.

I used the Magic Wand Tool to select the background from my image
I held the shift key to add to the selection to also select the smaller areas under the arms. Then deleted the selection.

Then I made a new layer under the image

Then I chose a grey colour and filled the layer with it.


Once I'm done editing the colours I press CMND + S to save my smart object, which updates my image in the main tab.
The next step is blurring the image to make the displacement image. While Still inside the smart object, I have my image selected and go, Filter > Blur > Gaussian Blur then dragged the slider to give it the right amount of blur.


Then I am going to "Save As" This image "Displacement" into my project folder for later


I now close the Smart Object Tab and return to the main Project.

I now have to add the Text To my image. I select the Type Tool with T
Then I dragged from top to bottom corners to fill the entire canvas with a text box.
Now I have a text box, I double click into the box to edit the text. and I copy paste my Song lyrics into this box. I then chose a font, and text size.
I went into the paragraph panel and had the text Justified to all, so that my text will reach all edges of the screen. In the Character Panel I set it to All Caps


Now the text is setup within the text box I need to add the displacement effect.
with the text layer selected, I chose Filter > Distort > Displace
Then I chose Convert to smart object.


Then i set the value of the displacement to 10 and selected the saved file I made earlier named "Displacement"


I then took the Text box with my lyrics and expanded it a tiny bit over the canvas so there is no gap at the ends, the words flow off the screen a little bit, this makes it look a lot nicer and that its part of the image.


Now the portrait is almost finished, it has the text and the displacement but I want to add some colour to it.
I dragged my Photo layer to the top of all my layers, Right clicked it and selected "Create Clipping Mask"

I Then went to the Adjustments Icon and chose Solid Colour, and I chose that colour a dark purple. then dragged the layer under the photo and text


Then again from the photo layer I made another adjustment. This time I made a gradient
then dragged the layer under the photo and text


I then lowered the fill of the gradient layer, to balance the colours more.
I experimented with changing the angle and scale of the gradient and eventually decided on left to right.
Here is my final result of my Face Displacement Portrait. I really like this and it has to be one of my favourite portraits I've made so far. I think this was a successful portrait and the only thing I might do differently if I had to do it again, is to make the text displacement be a bit more displaced so it would wrap a bit more around the face.


Comments