Andy Warhol
- Josiah Forbes
- Sep 26, 2022
- 2 min read

Updated: Oct 18, 2022

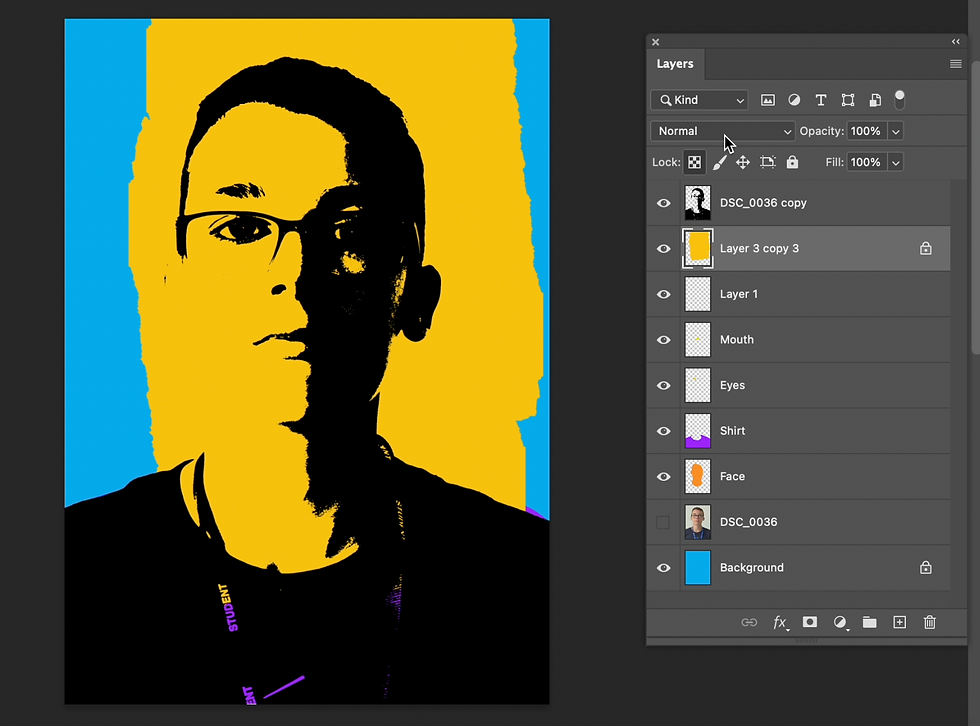
Here is my Andy Warhol style Portrait I made in photoshop.
I started making a new A3 File.

Then I dragged my photo in from finder and I adjusted the transform to fit the screen


Now I'm going to right click my layer and select Duplicate.


I turned then turned of all other layers than the new one.
Now go Image > Adjustments > Threshold

Now moving the slider find a good point t where your facial features are clearly visible

Now our photo colour is gone, were going to remove all the white in the image.
Using the Magic Wand Tool left click on a white pixel anywhere.

Then go Select > Similar (Now all the white pixels are selected

Now press Backspace on the keyboard. there should now be a transparent background.

now turn the background layer back on

now go over to the colour fill/stroke tool and select a background colour and press OK

Then go Edit > Fill

The background is finished now.

Now make a new layer above the background and photo. and turn your photo layer back on

Now using the Lasso tool draw around the face and neck

Now back in colours choose the colour u want to fill the face and press OK

Now fill. the shortcut for filling is Alt + Delete

Now repeat this process of making new layers, selecting the area, repeat for eyes nose and shirt.

Now I'm going to add a Torn Paper image
Open the torn paper image in photoshop separately. Then drag its layer into the other tab and release on the canvas


now the image is on here u can change the type of overlay to whatever one u want.
I chose colour burn.

then I arranged the image where I wanted it.

I then did CMND + J to duplicate the layer and moved the torn paper and used CMND + T to transform to rotate it. Then I changed the overlay type to a different one to give it different colours when overlaying.

Now my portrait is finished. I think this was a successful portrait but only on this attempt, I had previously done these 2 Andy Warhols which were not as successful.


Comments